Adding an Image on the Post or Page
- You can add images to any of your posts or pages on your WordPress site. To start, go to the page or post where you would like to insert a picture.
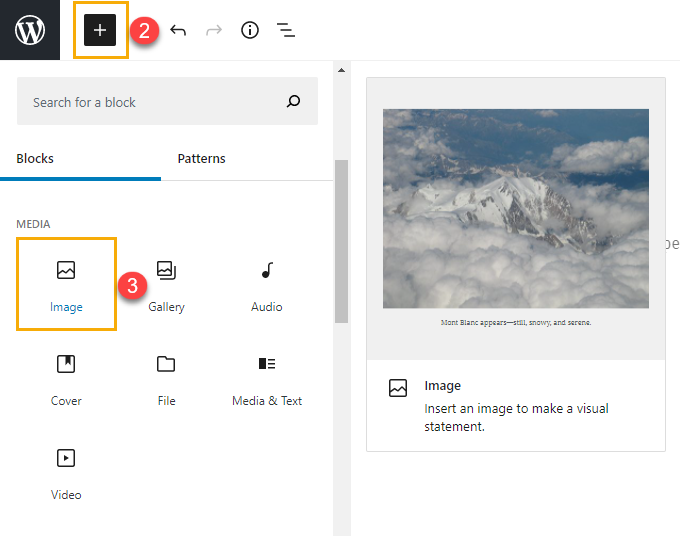
- Place your cursor where you would like the image to go, and then click the + icon.
- Under Blocks selection, scroll down to Media, then select Image.
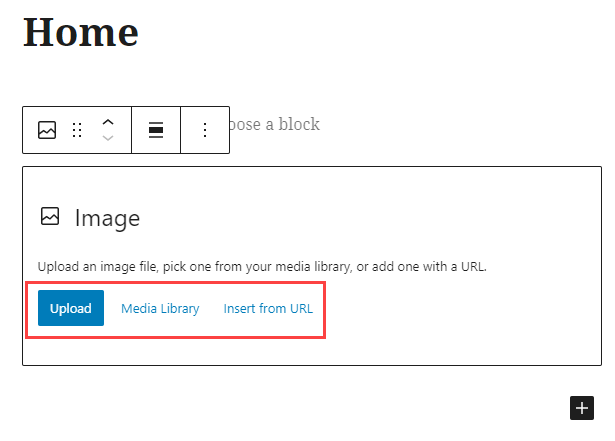
- There are a few different ways that you can add an image. You can use an image that you have already uploaded to your media library, or you can upload a new image from your computer. You can also link an image using a URL.
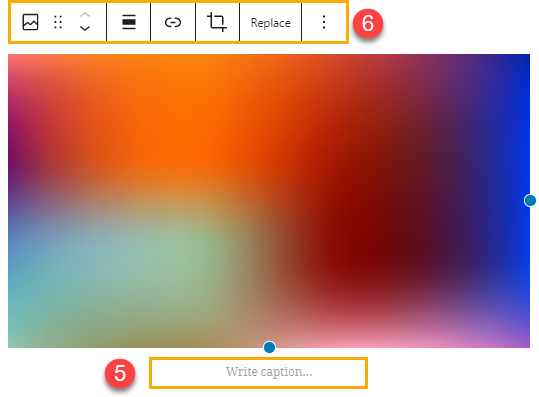
- Once you have chosen your image, you can enter the attachment details if you want to add a caption.
- You can also customize your display settings. This includes the alignment and size of the image.
Here's a quick demonstration below for adding an image to a sample page.
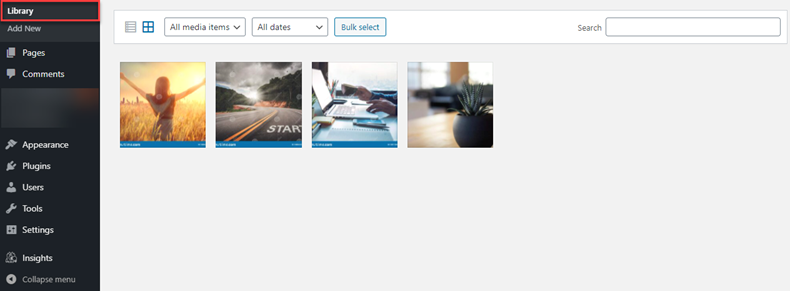
Uploading an Image on Media Library
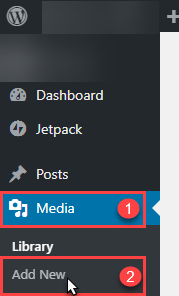
- To begin, click Media on the left-hand navigation menu bar in your WordPress Dashboard.
- Select Add New.
- Once you click Add New button, it will allow you to drag and drop the files to upload or click on Select Files.
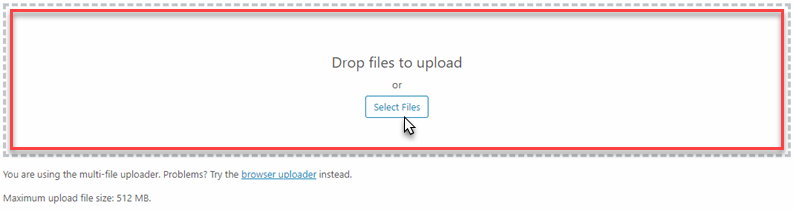
Note: Maximum upload of single file size is 512 MB.
- After uploading the files, click on Library to view the uploaded images.